1.0 Introduction
Raspberry Pi 4B has a Display Serial Interface (DSI) port for connecting a Raspberry Pi touchscreen display using a ribbon cable. In this post we will look at the process of connecting the Raspberry Pi 7″ touchscreen display with the Raspberry Pi 4B single board computer.
2.0 7″ touchscreen display
The Raspberry Pi 7″ touchscreen display has a resolution of 800 X 480 pixels. The display has a adapter card fitted on the reverse for processing of the video signal and for providing power to the display.
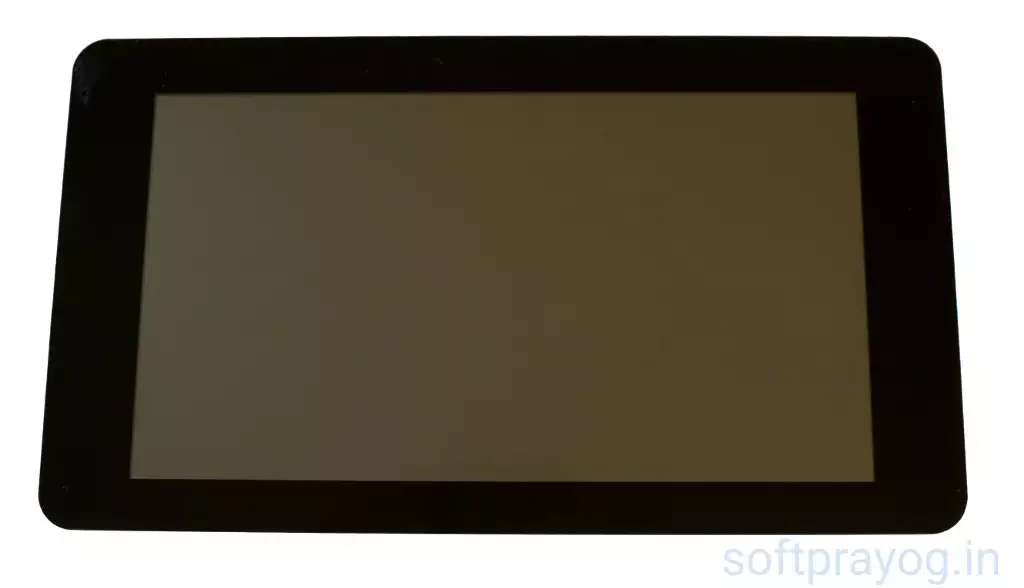
Raspberry Pi 7" display
2.1 Connect one end of ribbon cable
One end of ribbon cable is connected to the DSI port on the adapter card of touchscreen display.
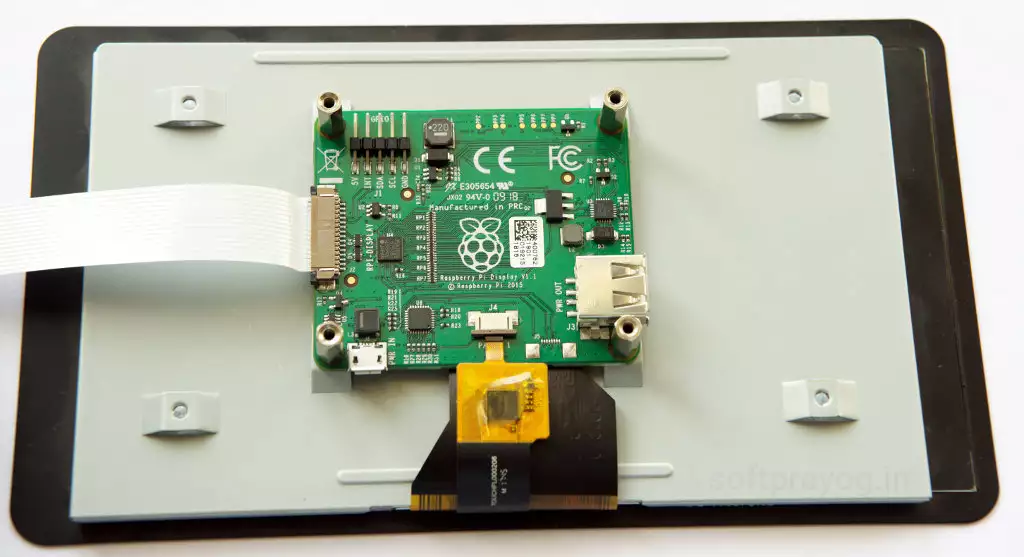
Display adapter and ribbon cable
2.2 Mount Raspberry Pi 4B over the display adapter
The four holes of Pi4B need to be aligned with the four stand-offs in corners of the adapter card. Pi4B is secured on top of the adapter board with four screws tightened in the adapter board stand-offs. The other end of the ribbon cable is inserted in the DSI port on the Raspberry Pi 4B.
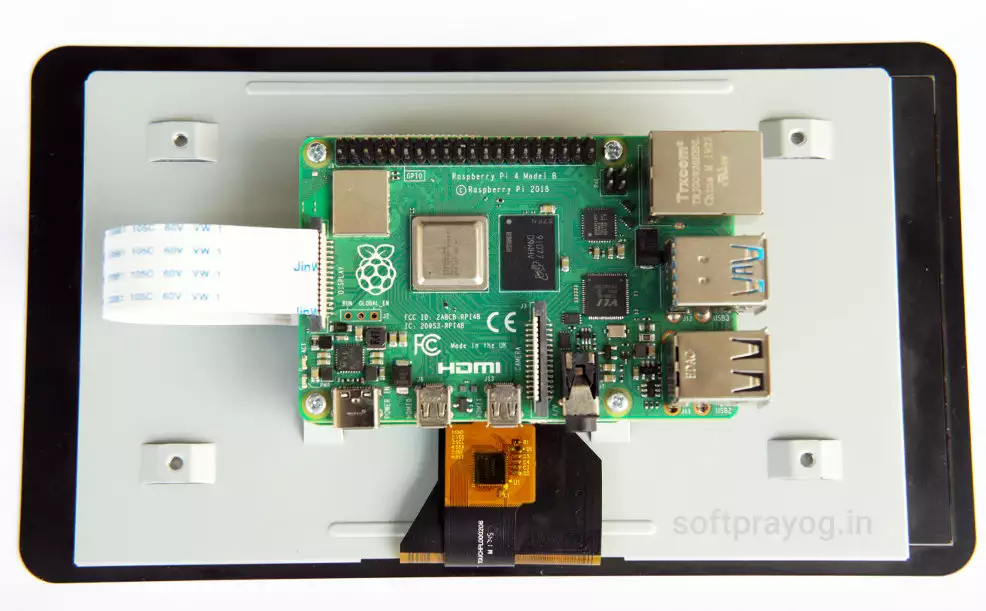
Raspberry Pi 4B mounted on the touchscreen display
2.3 Providing power to the touchscreen display
We need to provide power to the touchscreen display. There are multiple ways to do this. One simple way is to use the power and Ground pins on the GPIO header on Pi4B. There are forty pins on the GPIO header and the even numbered pins are close to the edge of Pi4B. Pin 2 of the GPIO header is 5V power and Pin 6 is Ground. To provide power, we need to connect Pins 2 and 6 on the GPIO header of Pi4B to the first and the last pins on the adapter board respectively.
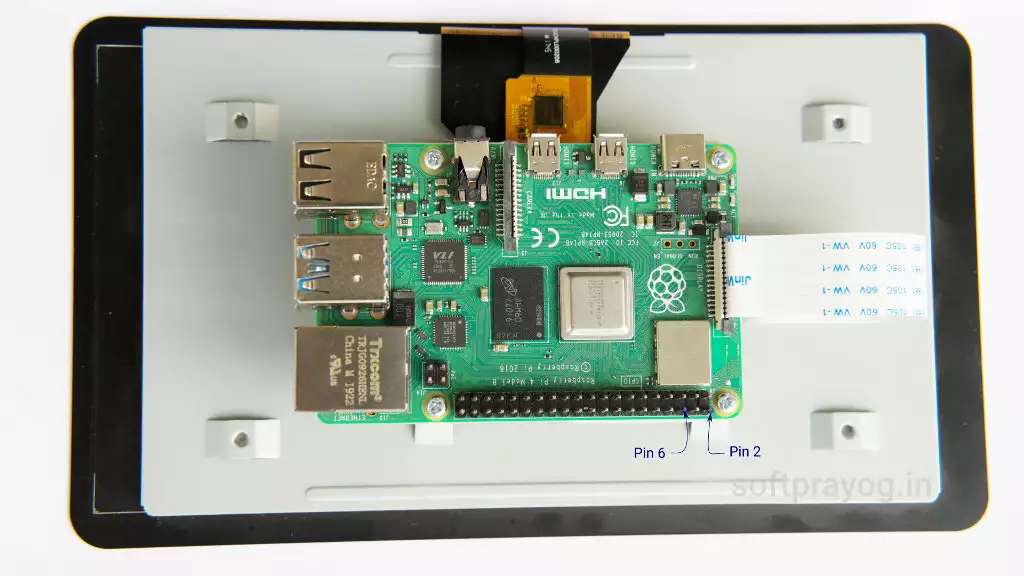
Pins 2 and 6 in the GPIO header on Pi4B
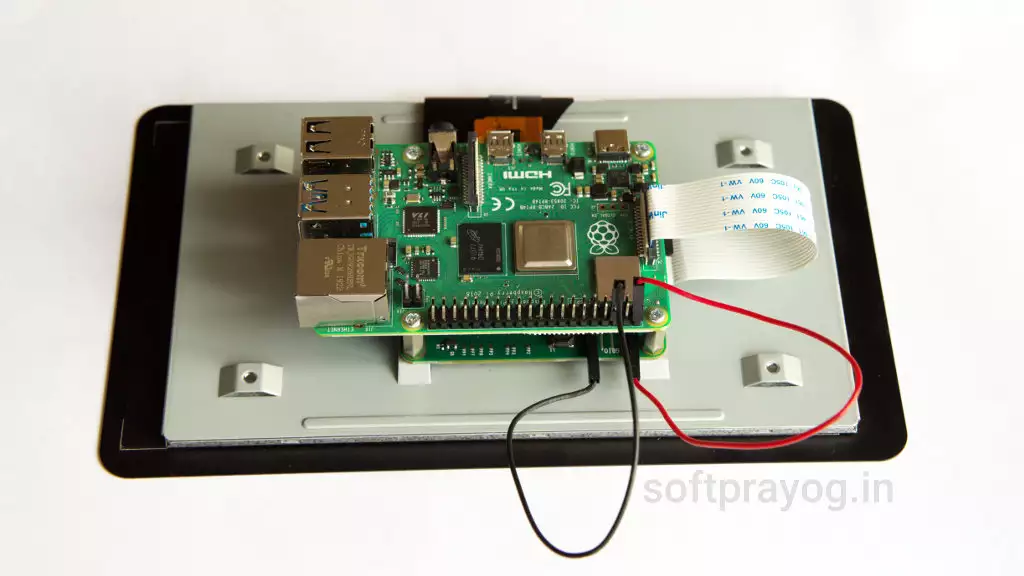
Providing power to the adapter board from GPIO header
2.4 Booting Raspberry Pi 4B
Now, we are ready to boot the system. We can connect a keyboard and a mouse to the Pi4B and provide power using the USB-C power port. Pi4B boots and Raspbian is running.
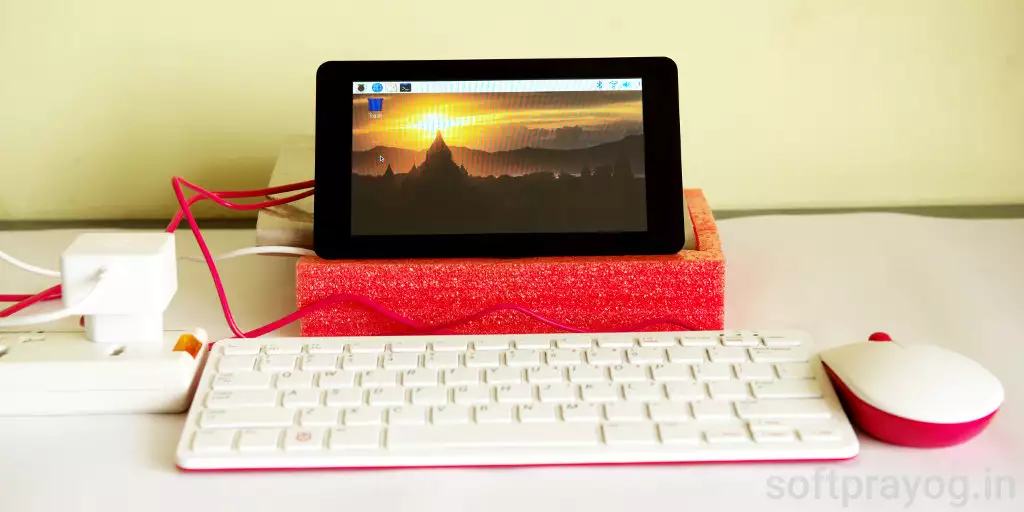
Raspberry Pi 4B running Raspbian with 7" display


